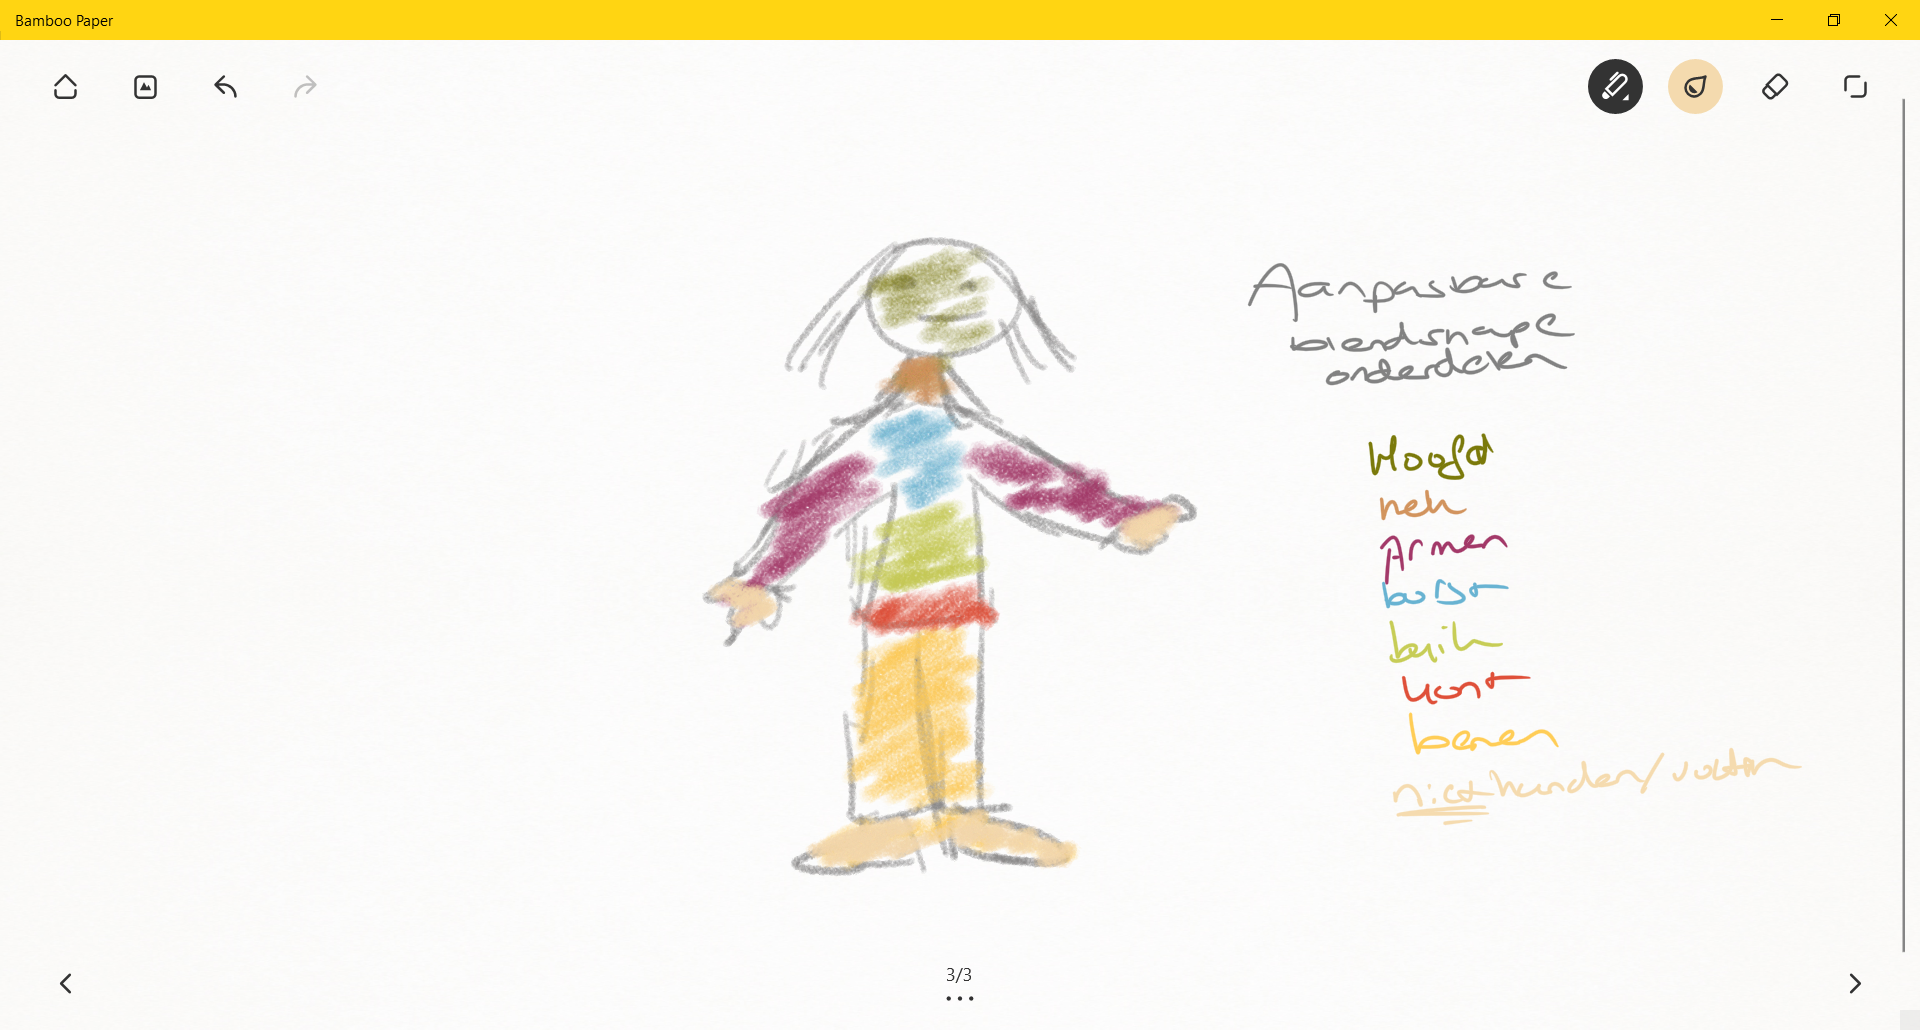
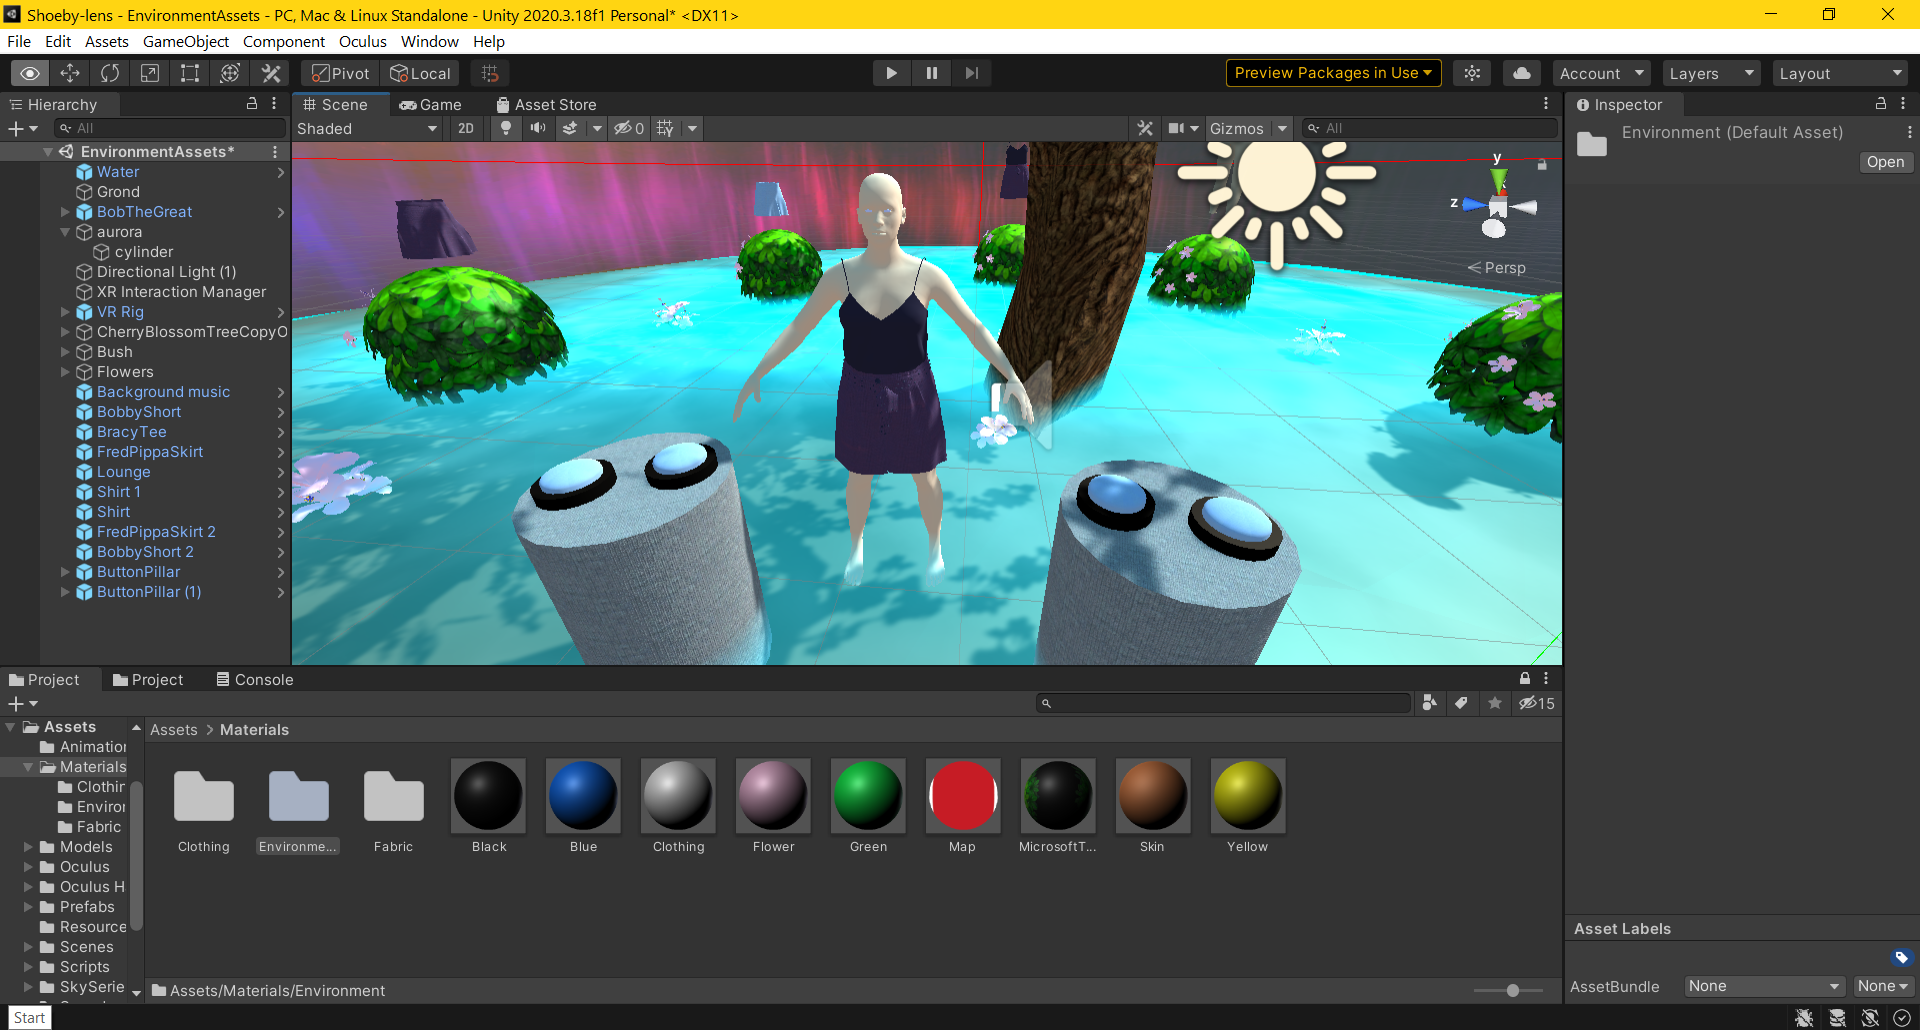
In this fourth sprint I have started making the blend shapes that we will use in the game. I started with sketching what it will look like in the game and thinking what blend shapes I want to make.
You can read more about how blend shapes work and my progression in this learning goal here: Blend Shapes.
I will still do more research on what blend shapes are needed and what sizes everything will be. On this page you can see what blend shapes I have already made (note: the min and max of every part will probably be different later on, I am still going to do research about average people’s sizes and sizes from Shoeby clothes).
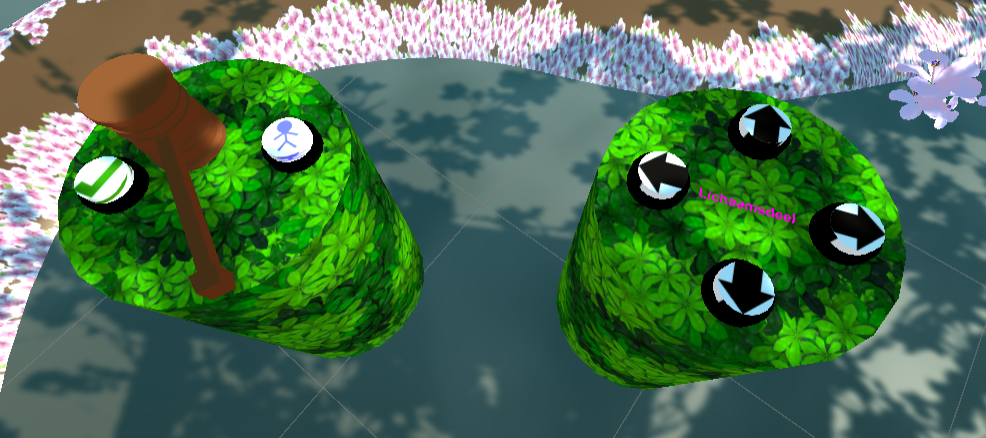
When I started thinking about the layout I started from the opinion where I wanted the player to have easy controls and be able to see the character while shaping. This is why I came up with the pillars. At first I made one pillar per button, but as you can see in the screenshot under this one we needed more buttons.
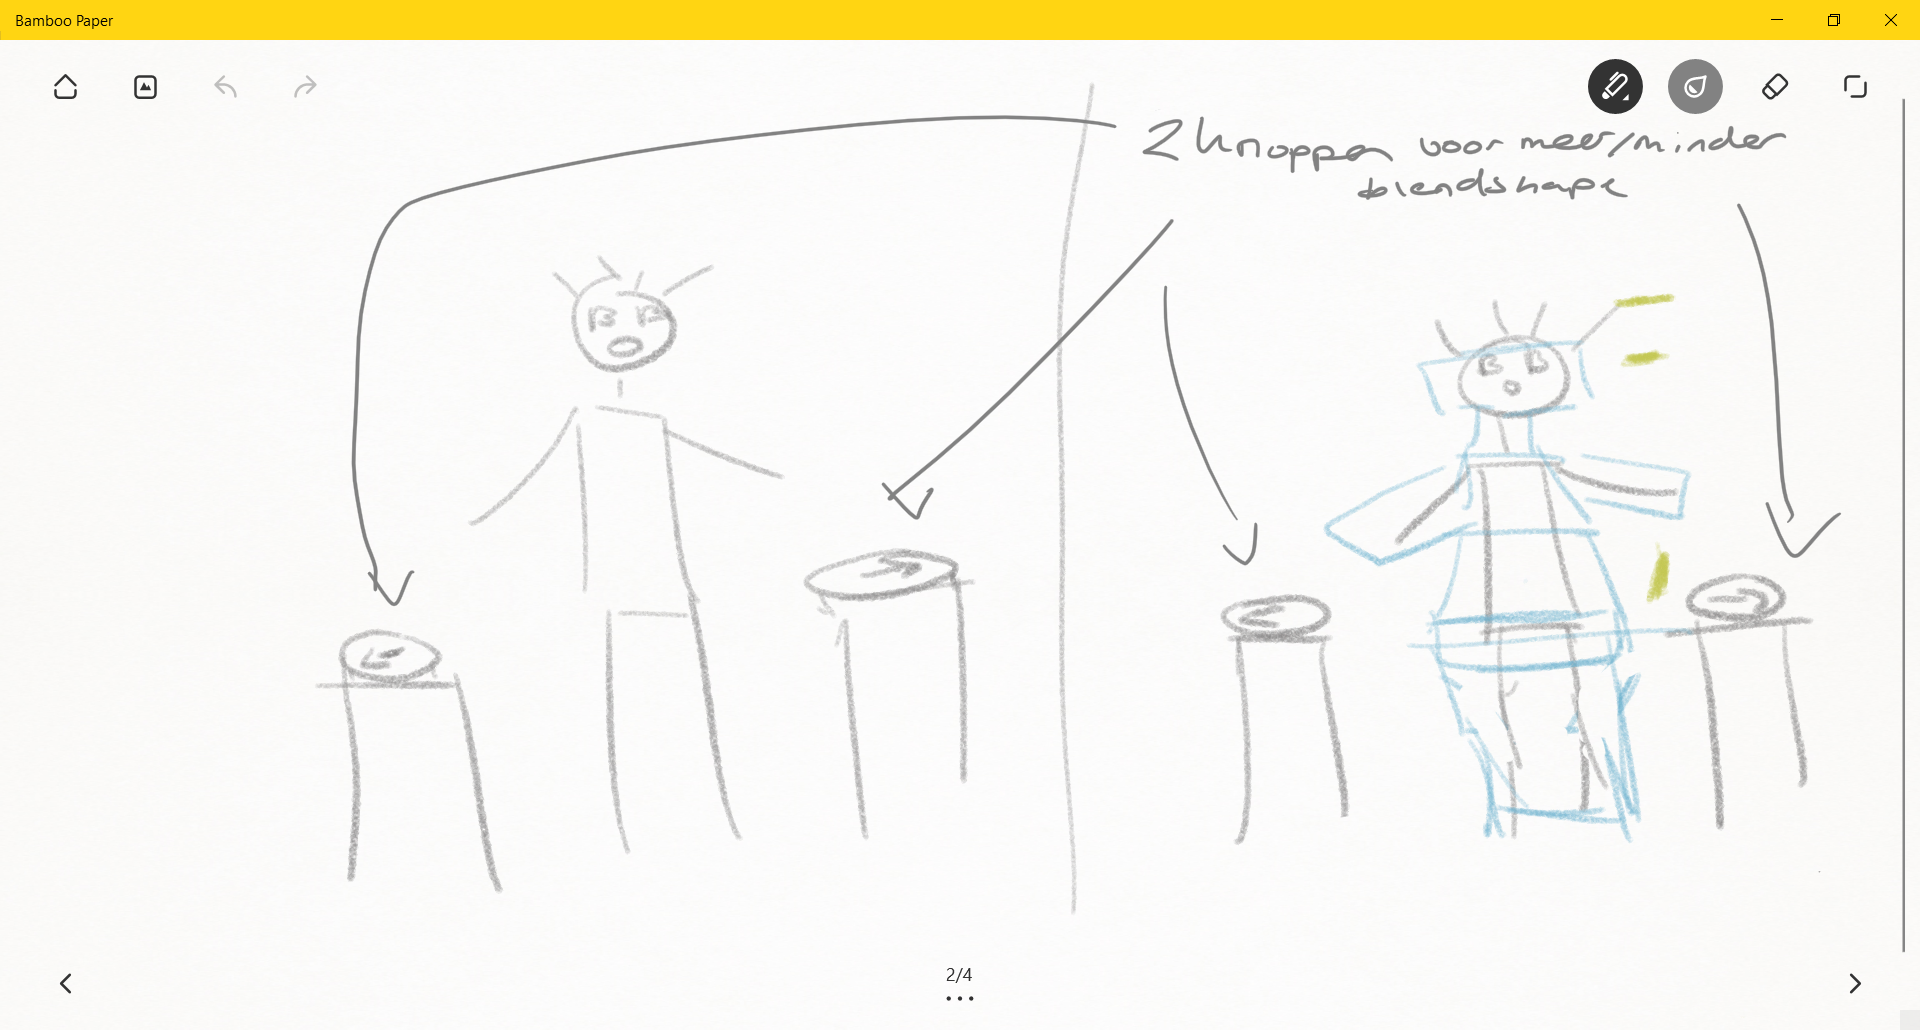
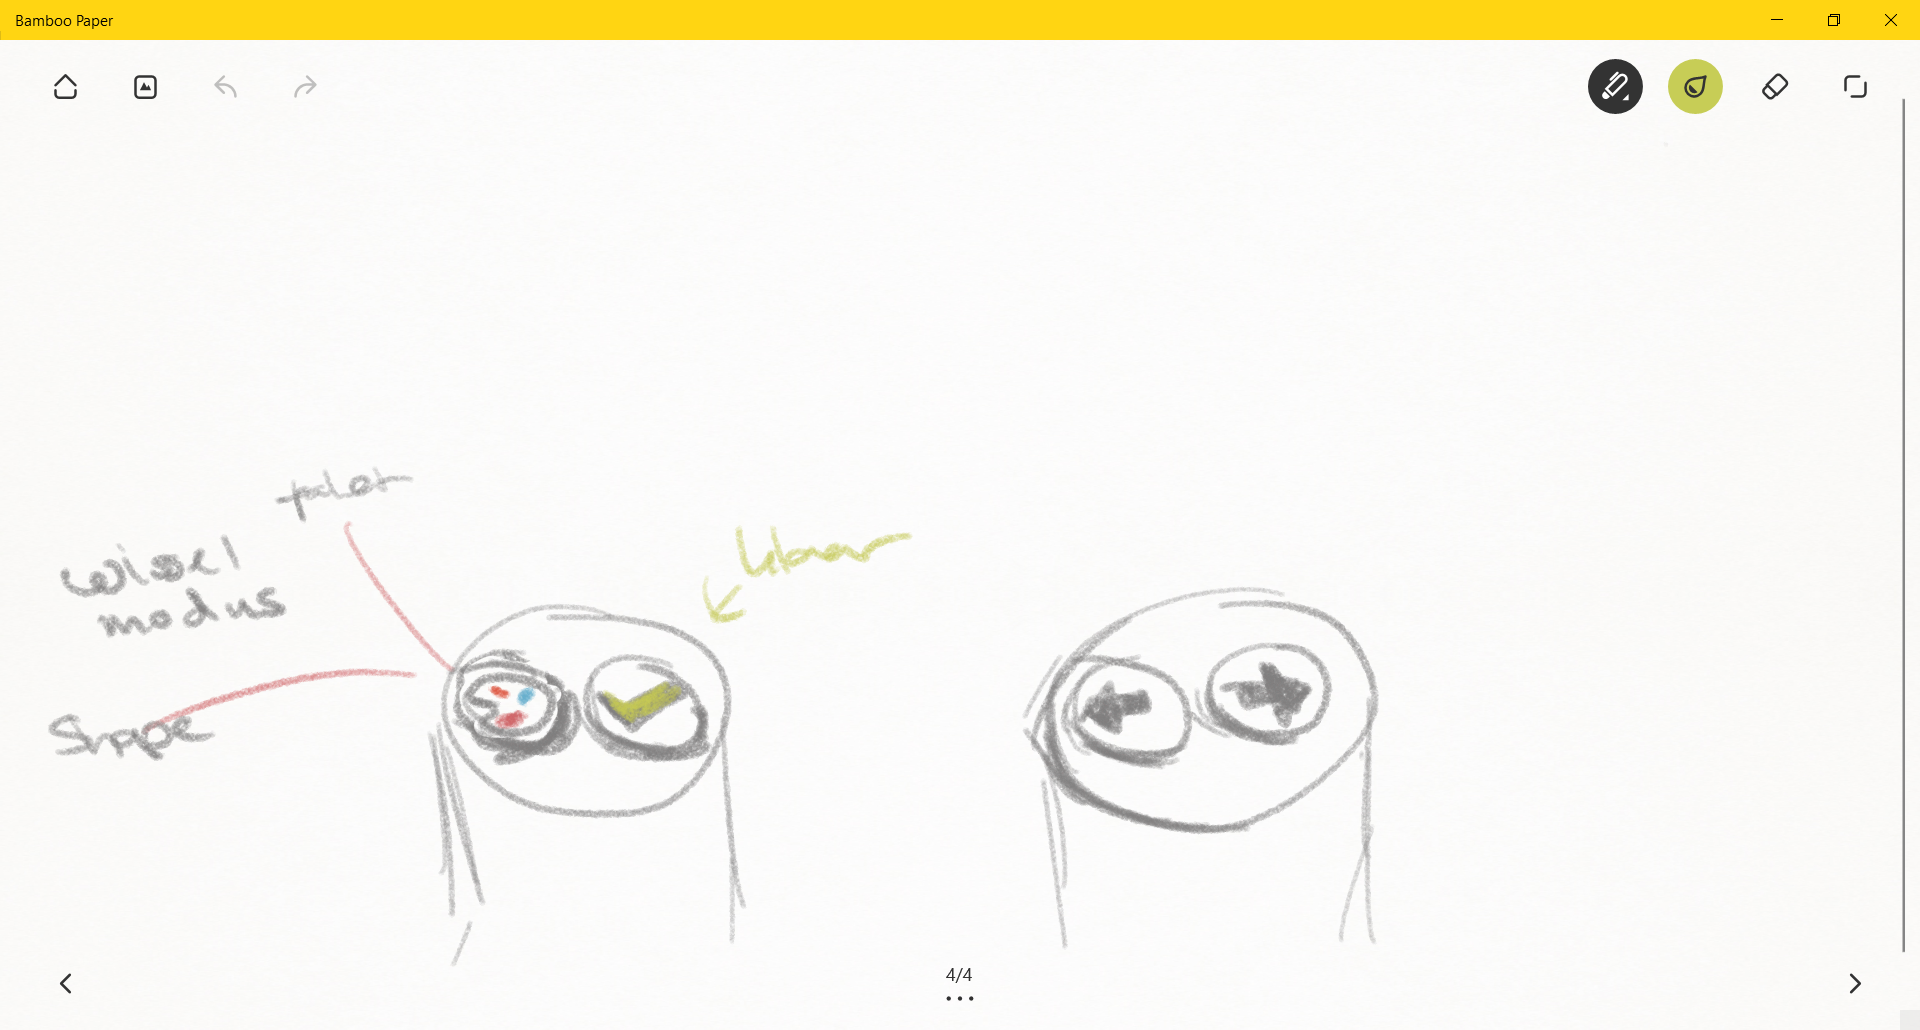
This is the sketch I made from the pillars, where I thought about what kind of functionality we needed. There is one button that changes between painting and shaping mode and the green checkmark is for going to the next sentence/stage. The arrows on the right pillar are for adjusting the blend shapes. Later during development I added two arrows for changing between blend shape selection, because we do not have enough time to develop another selection method. You can see this version in the screenshot after this one.
Below you can see the first pillars I made in Unity.
Pillars in Unity
This is the second and current version I made in Unity:
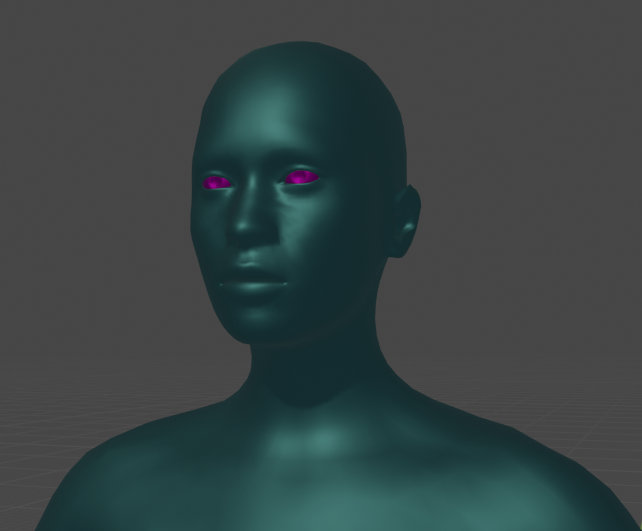
These are the first blend shapes I made. I will show you the others in Unity and paste them into the portfolio later on. I started with the neck, belly and butt, simply because they seemed the easiest.
Neck min 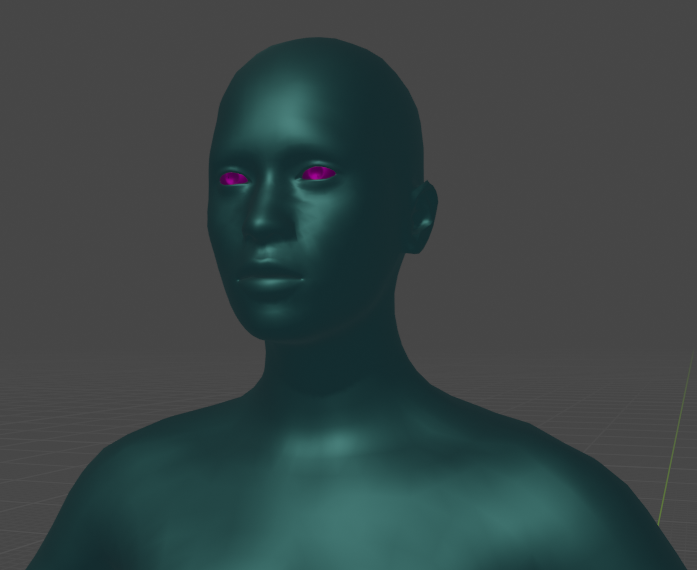
Neck average 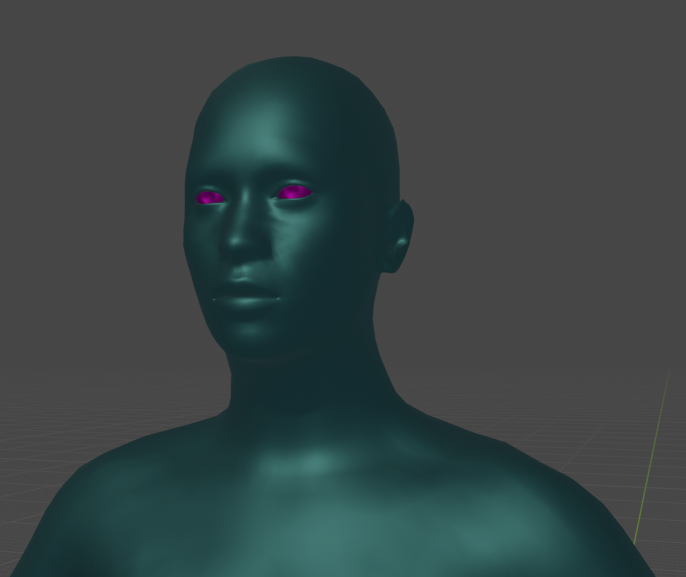
Neck max
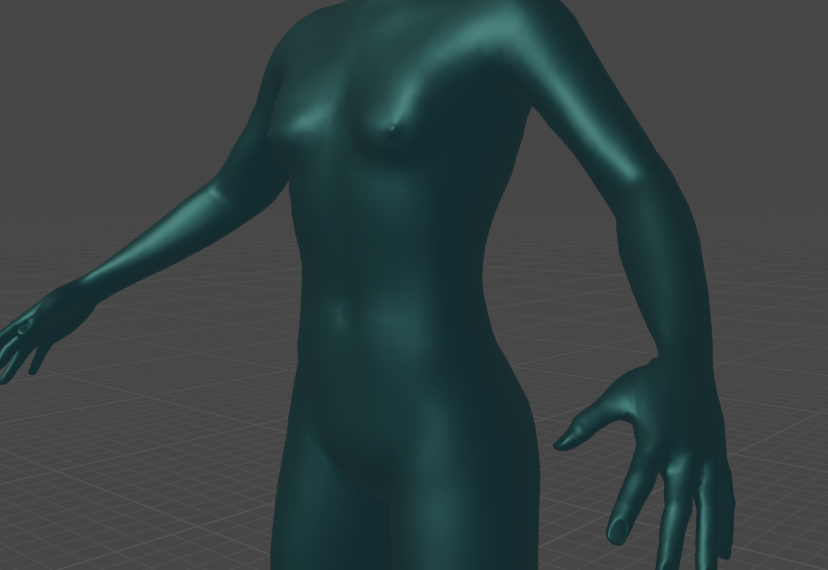
Belly min 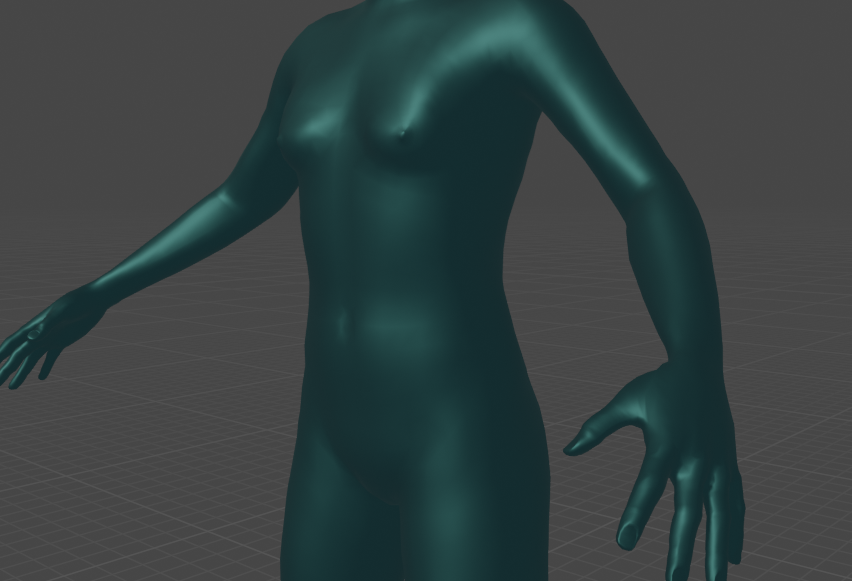
Belly average 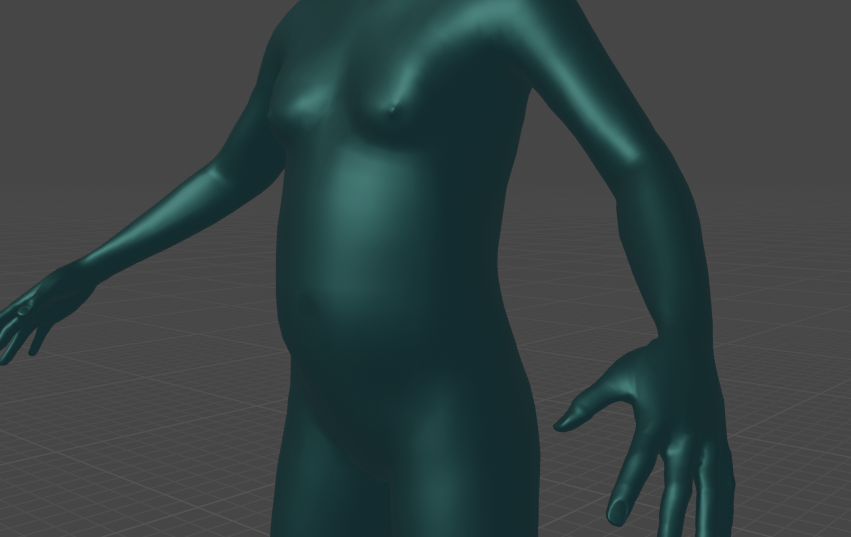
Belly max

Butt min 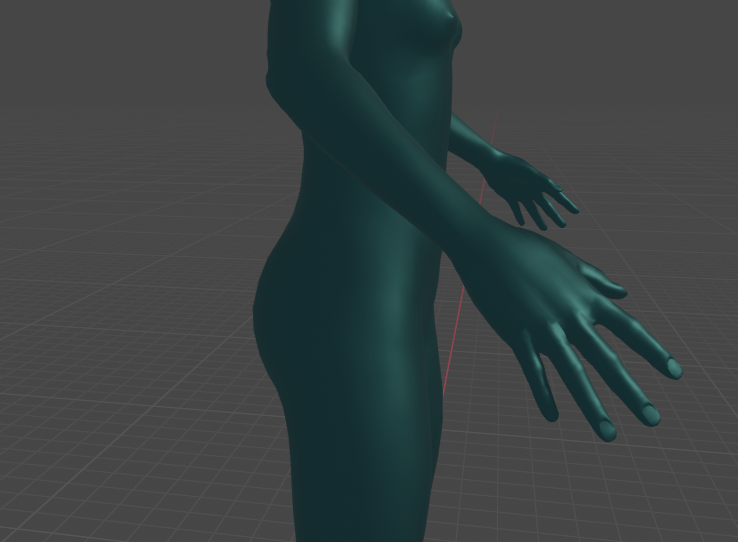
Butt average 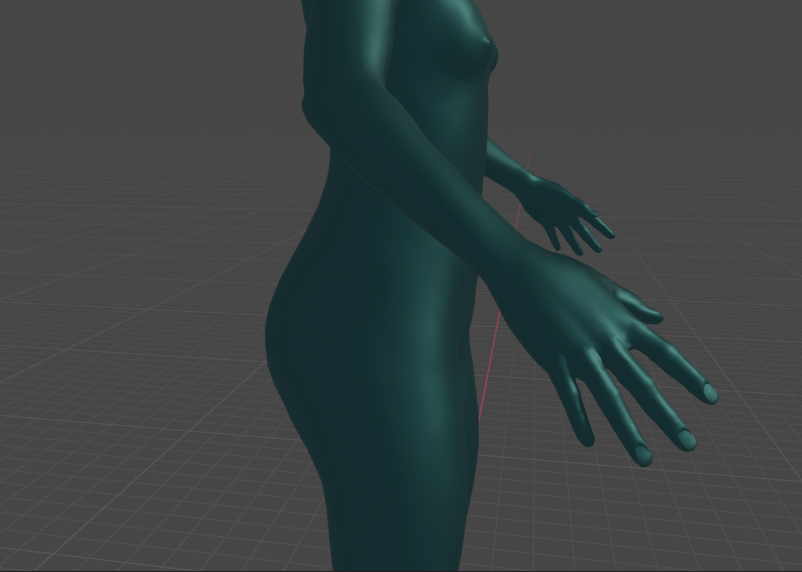
Butt max
Reflection
What I learned from this is that when you make a big part of a game there are always things that you will forget that are also a part of it. For instance I did not know that I would have to think of a new way to select a body part so that it could be programmed more quickly. I also learned that it requires a lot of thinking to make blend shapes look good and I need to get more confident in making the character, because I am having trouble modelling the character too big, because I am scared to offend people. Luckily Lisette offered to help me with this.