My biggest learning goal is making a character creator like in The Sims. To achieve this I started researching on YouTube for tutorials. Since I have been interested in this before I found a few videos quickly.
From these videos I chose the following tutorial because it worked with Unity and Blender and it was exactly what I wanted (making something where the user can mold their character) without too much extra things added. I also found another tutorial (shown under the first) that I will use in a later stadium if needed (this one shows how to change parts like hair on a character).
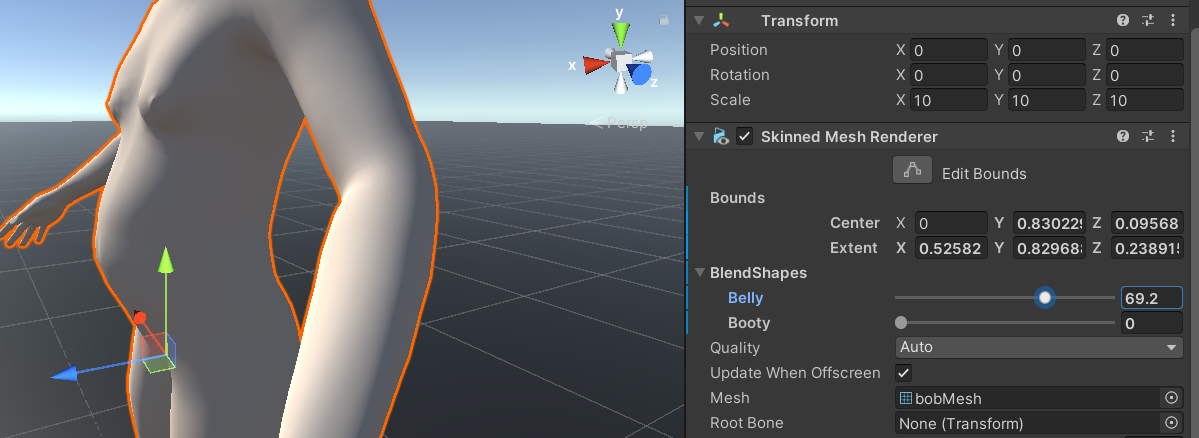
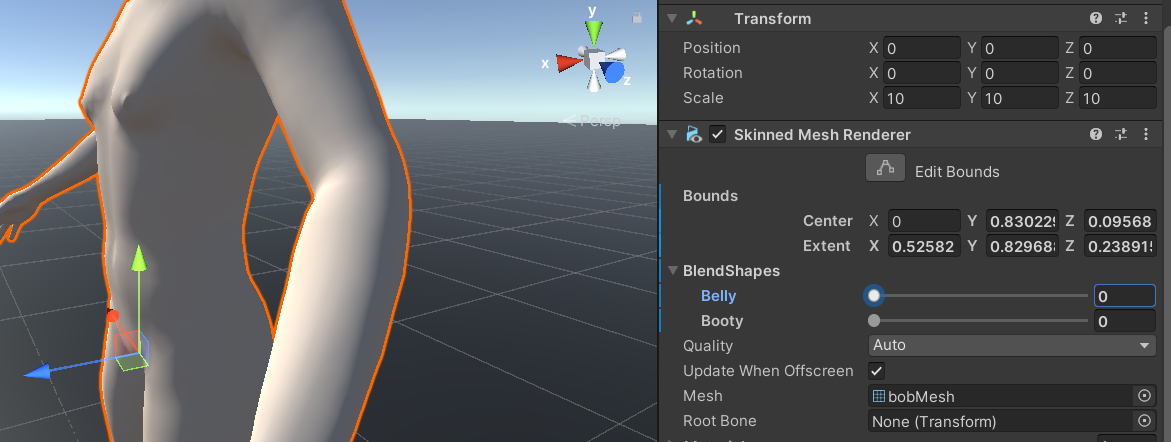
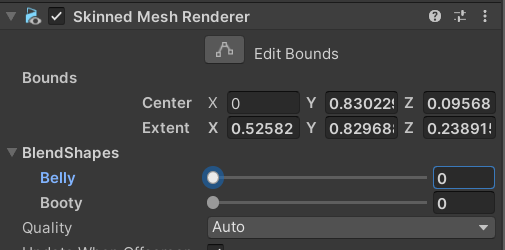
To make a character customizer like I wanted and we needed I started using blend shapes. Blend shapes are values that you can set in Blender and when you load the *.fbx that you created in Blender, Unity can read these blend shape values too. They are available in the Skinned Mesh Renderer of the character which you can see below. Since it is available here you can easily adjust them via code. I will first explain how that part works and later in the article I will explain how the Blender part works.
XR Development ->
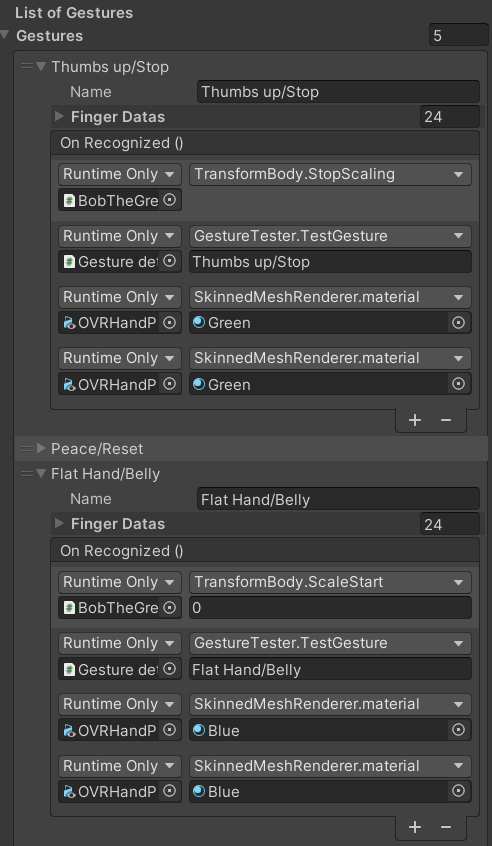
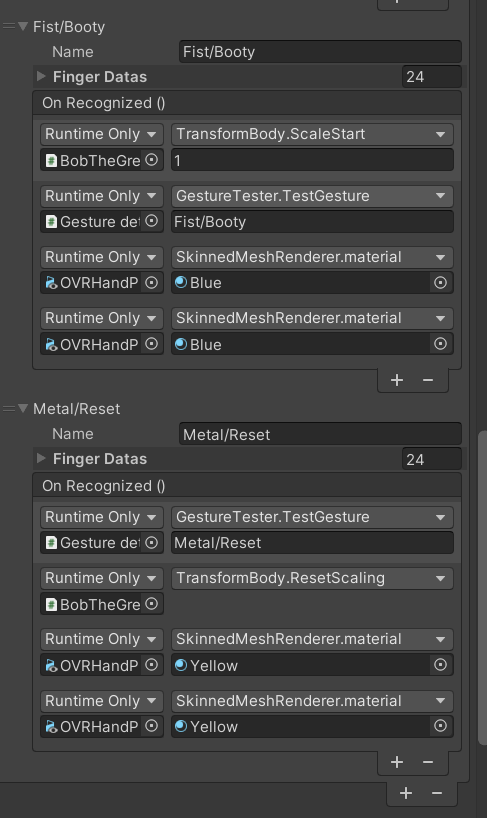
To make the character change shape we wanted to use gestures. I have another in depth article about gestures here. For our first tests this meant making a few gestures in the inspector (shown in the images below) and making them execute code when detected. Before I started using the blend shapes I first tested it out by scaling a cube based on gestures. This helped me because it was a smaller easier step before making the blend shapes.
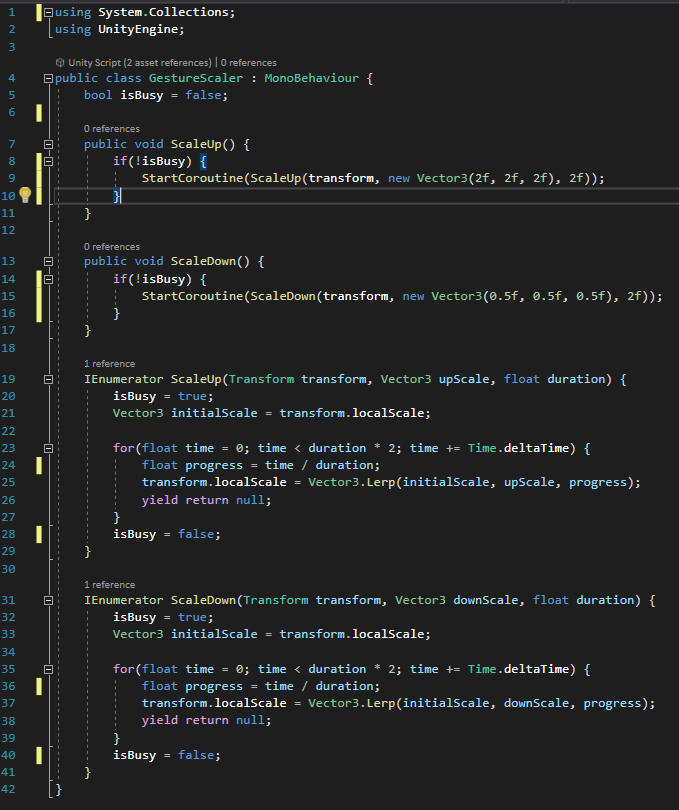
To scale the cube I made the following code:
In this code I used coroutines because I had to use time. I had to use time because I wanted to have the scaling work as follows: a gesture gets detected; while the gesture is being detected slowly scale up/down. This meant that if the gesture was showed for a shorter amount of time it did not scale as much as when it would have been a longer amount of time.
The code also takes into account that the cube may already be scaled for a bit and then lerps towards the end-amount of scaling. In the code shown here I did not implement a reset yet so there were only two scale states possible: scaling up or scaling down. After testing the scaling still seemed a bit buggy, but I went along to go and work on the blend shapes next and while testing that we also discovered that the gesture detector sometimes detects a different gesture while transitioning between gestures which makes the cube (or avatar) behave not as expected. This also came forward when we used this in our prototype during the first testing Friday.
The code below is the final code I made which works with the blend shapes. As you can see I use the Skinned Mesh Renderer component for this. I also added a stop and a reset function so that the user can reset the avatars scaling and the stop is so that they can stop the current scaling “session”, which means stop the animation or: the characters belly is now the size that I want. Another thing that changed is that there is now a field editable in the inspector which is called timeForScaling, this is the time that a full scaling can take. We used this to tweak the speed of the scaling animation.
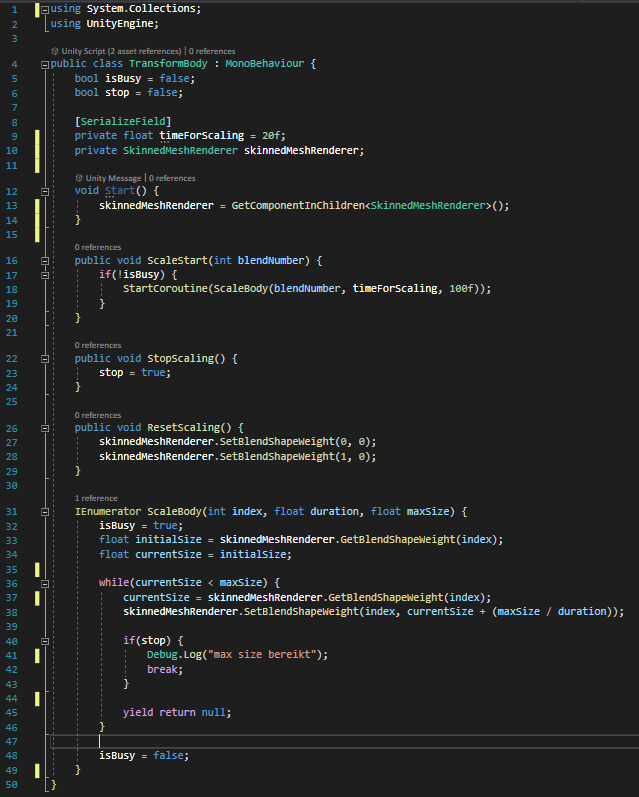
The script used to move between blend shape values. 
The script as displayed in the Unity inspector (the script is attached to the character in the scene).
XR Assets ->
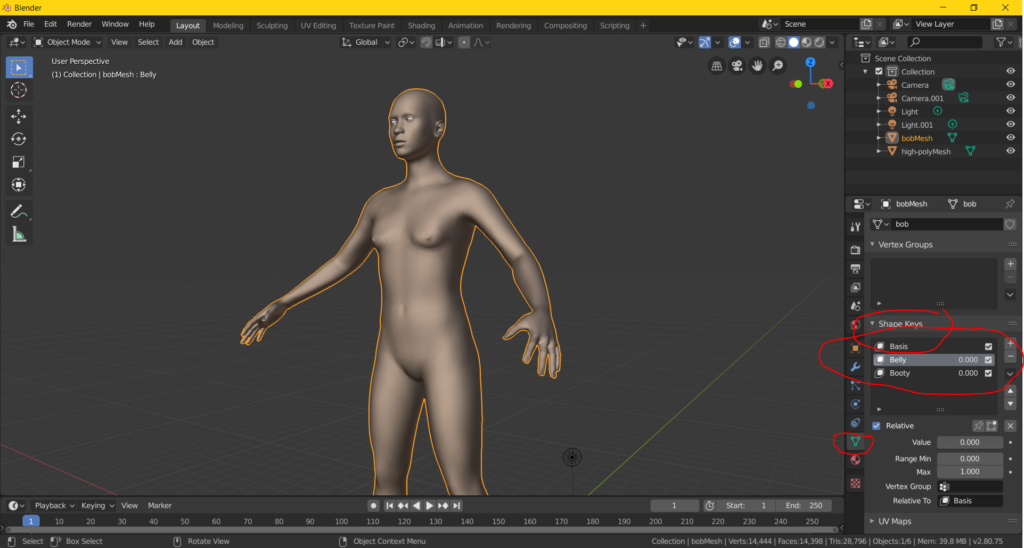
Making blend shapes in Blender is really easy. You have to go into edit mode and then click on the green icon that you see in the image. This is the tab for object data. From there you can add shape keys. While in a shape key you can edit your character as you want. Then the shape key remembers that and sees the beginning state (when you started editing that key) as the starting point for the blend shape. If you then save the model as an .fbx and load it into Unity, your blend shapes will be visible as explained above.
